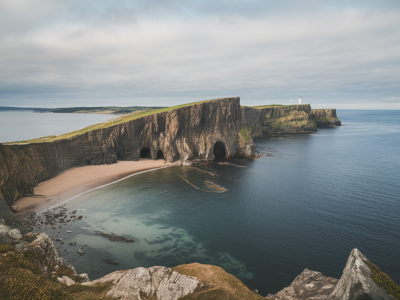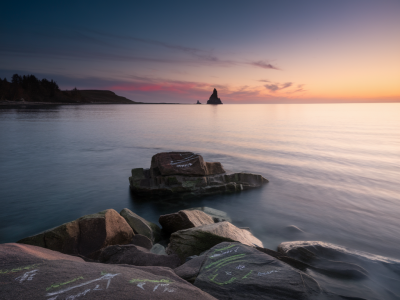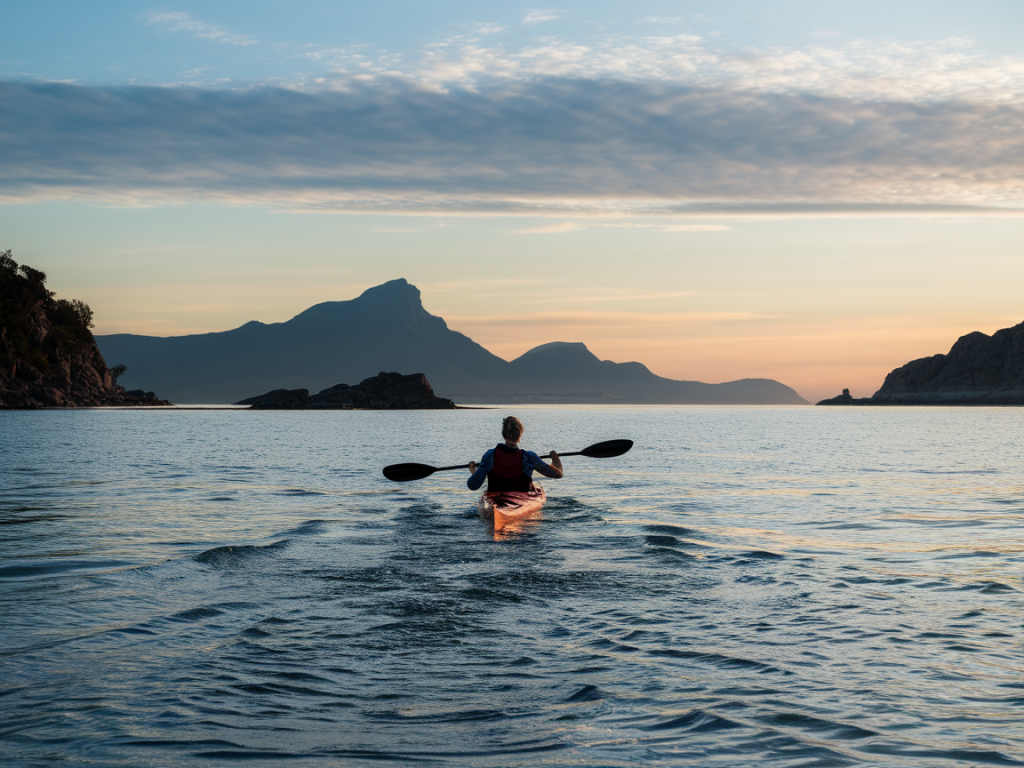
I love starting a day on the water in the far north — dawn light, glassy sea, and the quiet company of seals slipping between the kelp beds. One of my favourite early-morning outings is a short sea-kayak from Balnakeil across to Enamel Bay to photograph grey seals and the coastline’s dramatic light. Below I’ll walk you through the launch points, tide considerations, kit I always pack, safety notes and my go-to camera settings so you can plan a calm, respectful and productive dawn paddle.
Why dawn?
Dawn gives you three advantages for seal photography: the animals are often active near shore as they forage or move between haul-outs, the wind tends to be lighter early (especially in summer), and the low-angle light sculpts cliffs and water beautifully. On clear mornings you get warm golden tones; on misty mornings you get mood and atmosphere. For seals, early movements and calmer seas make it much easier to get close without disturbing them.
Where to launch: Balnakeil options
There are two practical launch points at Balnakeil depending on conditions and how much walking you want to do from your car:
- Balnakeil Beach (main sand spit) — The obvious choice if the sea is calm. There’s easy access across the dunes to a wide, sandy launch area. Great for inflated or rigid kayaks and the shortest distance to Enamel Bay.
- Balnakeil Harbour / slipway — Use this if there’s a northerly swell and you need a bit more sheltered water at launch. The slipway is pebbly and steeper, so I only use it with two people or with secure footwear and a trolley for heavier boats.
Park considerately — there are limited spaces near the beach and a small car park. I aim to arrive 45–60 minutes before local sunrise so I have time to rig, check tides and do a short paddle warm-up.
Tides and timing
Tides at Durness influence where seals haul out and how the currents run around headlands. For Balnakeil to Enamel Bay I use these basic rules:
- Plan for slack water or an incoming tide for an easier paddle across the bay — outgoing tides can create stronger currents and push you away from shore.
- A low-to-mid tide often exposes rocks and little skerries where seals rest, increasing sighting chances and giving you contrasty foregrounds for photos.
- Aim for 60–90 minutes before high water at the nearby reference port if you want the gentle incoming flow. Use a local tide table (I check the UKHO or a reliable app) and cross-reference with wind forecasts.
If you’re new to reading currents: avoid strong onshore winds combined with an opposing tide — that combination can produce short, confused seas. In summer I’ll cancel a planned dawn paddle if the forecast predicts more than 12–15 knots of wind or choppy seas.
Route and distances
The crossing from Balnakeil spit to the shore near Enamel Bay is short — generally under 1.5 km each way, depending on your exact launch and landing points. I prefer to keep a little distance from seal haul-outs until I’ve assessed their behaviour: paddle slowly, stop 50–100 m out, and observe. Often they’ll be curious and approach; sometimes they keep their distance. Trust their signals and give space if they appear stressed.
Seal behaviour and approach etiquette
Respecting wildlife is non-negotiable. From my conversations with local rangers and crofters, and from years of paddling here, these guidelines reduce disturbance:
- Keep at least 50 m away from haul-out sites. If seals enter the water or show avoidance behaviours, back off immediately.
- Approach slowly and parallel to the shoreline rather than head-on. Avoid sudden noises or rapid movements.
- Use the wind and current to drift quietly rather than powering toward animals; switch to a paddle-sweep or low paddle rates to make less splash.
- Avoid landing or setting foot on small skerries used by seals. These haul-outs are critical rest spots, especially during pupping season (late spring/early summer).
Seasonal note: seal pupping in Sutherland typically happens in early summer. If you’re here in May–June, keep greater distances and follow any local access restrictions. Check for notices from Scottish Natural Heritage or local rangers before you go.
Essential kit (my go-to list)
I treat every kayak trip like a mini-expedition. Here’s what I pack for dawn photography trips:
| Boat | Sea kayak or stable touring kayak with dry storage |
| PFD | CE-rated buoyancy aid — I use a Palm or NRS model with a whistle |
| Clothing | Wetsuit or drysuit depending on season (I prefer a drysuit for shoulder season), thermal base layers, neoprene booties, and a warm hat for after landing |
| Navigation & safety | Chart or phone app with offline chart, VHF (handheld), torch/headlamp, knife, towline, sponge, and bilge pump |
| Camera kit | Waterproof camera bag/drybox, camera (mirrorless or DSLR), 70–200mm for seals, 24–70mm for landscapes, spare batteries, and lens cloth |
| Other | Drybags, flask with hot drink, energy snacks, small first-aid kit, phone, and spare map |
Brand notes: I often paddle a fiberglass sea kayak with a spraydeck when conditions are colder. For cameras I use a weather-sealed mirrorless body (Sony A7 series or Fujifilm X-T series) with a 70–200mm for close-up seal portraits and a wide 16–35mm for the bay and headlands. A 1.4x extender can be handy if you need extra reach — but remember cropping is usually preferable to getting too close and disturbing wildlife.
Practical photography tips on the water
- Stabilise: Sit knees-wide in the cockpit and plant your bracing hand on the deck to reduce motion while shooting. Use the kayak’s cockpit rim for a makeshift rest for longer lenses (careful to protect your hull and lens).
- Shutter speed: Aim for at least 1/1000s for fast-moving seals, especially if they surface near your bow. If the water is calm and animals are leisurely, 1/500s can work.
- Aperture: f/5.6–f/8 for a balance of subject isolation and sharpness. On wide scenes with cliffs at dawn, stop down to f/11–f/16 for depth of field.
- ISO: Keep it as low as practical, but don’t be afraid to push ISO in low dawn light — modern sensors handle ISO 1600–3200 very well for web use.
- Focus: Use continuous AF (AF-C) and a small group or single point over the animal’s eye. Many mirrorless bodies track well; practise on moving buoys or birds first.
- White balance: I shoot RAW and let myself correct WB later. For moodier dawn scenes, a slightly cooler WB can enhance the atmosphere.
Safety and contingencies
Even for a short dawn paddle, prepare for a changeable Highland morning. Tell someone your plan and expected return time. If fog rolls in, use GPS and VHF rather than trying to navigate visually. Carry a charged phone in a drybag and a handheld VHF for calling the Coastguard if needed.
If weather deteriorates: head for the nearest sheltered shore (Balnakeil harbour or beach) and land if conditions are unsafe. I always factor in an extra 30–45 minutes for getting back in case wind swings or visibility drops.
When to cancel
I won’t go out if forecasts show persistent winds above 15 knots with a contrary tide, strong onshore swell, or fog with poor visibility and no reliable electronic navigation available. The seals will be there another day; safety comes first.
Finally, remember the simplest rule that has shaped every memorable dawn paddle for me: patience. Sit still, let the light and wildlife come to you, and keep your camera ready. With quiet approach and respect for these wild animals, Balnakeil to Enamel Bay can be a magical short adventure—and a productive photo spot for seals and sunrise coastlines.