The first time I tried a cliff-to-beach panorama at Camel Haugh I realized there’s a sweet spot between ambition and chaos: I wanted the whole sweep — towering cliffs, the curl of the beach, the sweep of the bay — in a single frame, but my phone’s default panorama kept warping the horizon and disjointing the foreground rocks. After a few failed stitches and a much-improved attempt, I’ve pulled together the practical settings and stitch-point approach that consistently gives me clean, dramatic panoramas using just my phone.
Why phone panoramas at Camel Haugh work so well
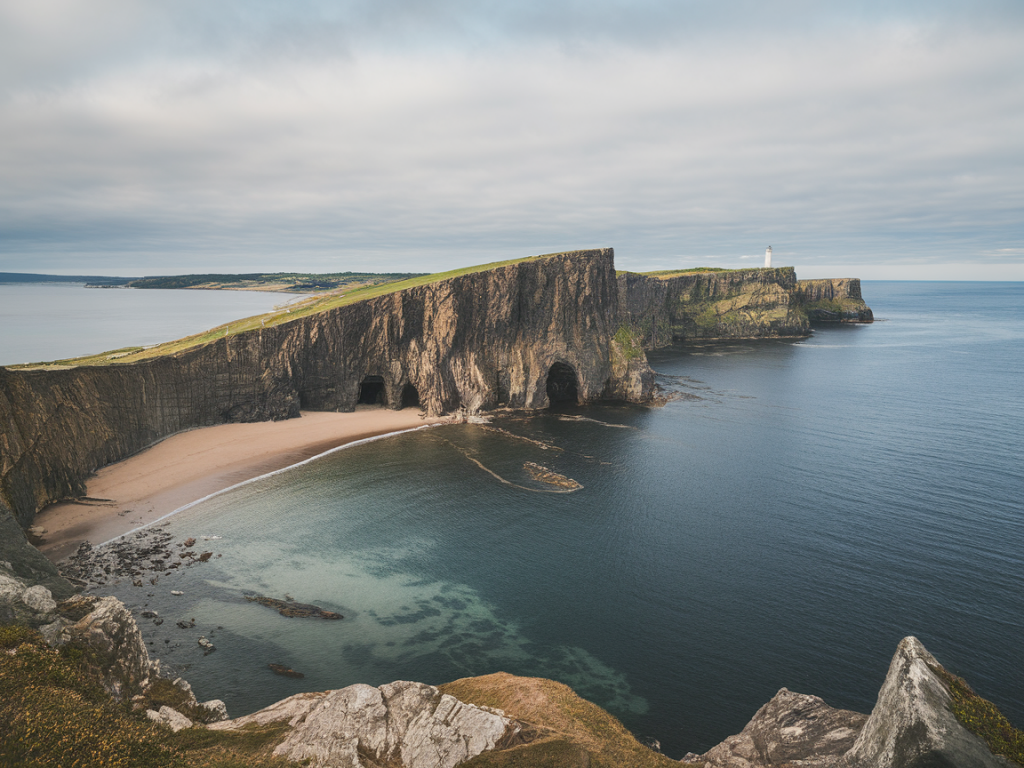
Camel Haugh is perfect for a panorama because the scene has strong horizontal layers: cliff edge, headland, beach curve, and a long horizon. Those defined elements help stitching algorithms match features. The challenge is the pronounced foreground — rocks, tide pools and seaweed — which cause parallax when you rotate your phone. The method below minimizes parallax, captures enough overlap, and locks exposure so you can stitch a crisp, natural-looking image.
Gear and apps I recommend
- Phone: Recent iPhone (12/13/14/15 series) or Google Pixel/Samsung S-series — they have good sensors and computational pano modes.
- Tripod + phone clamp: If you have one, use it with a small panoramic head or a rotator. Helps a lot for multi-row stitching.
- Level app or built-in horizon indicator: keep horizons straight.
- Apps: Built-in Panorama mode (Apple/Google/Samsung) for quick shots; for manual control and RAW panoramas use ProCamera (iOS), Open Camera or Camera FV-5 (Android). For stitching/editing on desktop, I use Lightroom Classic and sometimes PTGui for tricky composites. On the phone, Adobe Lightroom Mobile or Google Photos do a surprisingly good job.
Orientation and framing: portrait vs landscape
For cliff-to-beach sweeps I almost always hold the phone in portrait. Portrait orientation gives more vertical coverage so you capture foreground rocks and horizon in the same stitch with fewer frames. It reduces horizon curvature that sometimes appears when you stitch lots of wide frames in landscape mode.
Basic camera settings I use
These are my go-to settings before I pan:
- Resolution/format: Max photo resolution; if your app allows RAW or DNG in panorama, enable it for better editing latitude.
- HDR/Smart HDR: ON for high-dynamic scenes — cliffs in shadow and bright sky. Some phones auto-merge; if available use an HDR pano mode.
- Exposure lock (AE lock): Lock exposure so the stitched frames don’t change brightness from left to right.
- Focus lock (AF lock): Lock focus on a mid-distance point (the sea or headland) to keep consistency.
- White balance: Fix white balance (don’t leave it on auto) if the light is changing rapidly at sunrise/sunset.
- Grid and level: Turn on a 3x3 grid and horizon level guide to keep compositions straight.
How many frames and how much overlap
I aim for 35–50% overlap between frames. That gives stitchers enough matched detail without too many redundant images. For Camel Haugh panoramic sweeps I typically shoot 7–12 frames in portrait orientation depending on how wide I want the sweep.
- Small sweep (single bay): 6–8 frames
- Large sweep (cliff plus adjacent headlands): 9–12 frames
- Multi-row (if you want very high resolution): 2 rows × 8–10 frames each (requires tripod and careful leveling)
Where to place stitch points (practical, scene-based guidance)
Think of stitch points as visual anchors — features that appear in successive frames and help the software align images. At Camel Haugh I look for a sequence of clear, distinct features from left to right:
- Far-left headland silhouette (use as the first anchor)
- Prominent cliff edge or grassy crest (good mid-distance anchor)
- Distinct boulder or stack on the beach (foreground anchor — crucial to minimize parallax)
- Wave break line or whitewater pattern (useful for mid-sea alignment)
- Horizon and distant headlands (final anchors)
When you pan, ensure each of these anchors appears in at least two consecutive frames. For foreground rocks I sometimes step back an extra pace before panning; increasing the distance between camera and foreground reduces parallax and makes stitch points line up cleaner.
Parallax: how to avoid it with a phone
Parallax is the main enemy when foreground features are close. On a DSLR you'd rotate around the lens’s nodal point; with a phone you can do two things:
- Increase camera-to-subject distance: Stand a bit further from the nearest rock. It reduces relative motion between foreground and background during rotation.
- Rotate around your body, not your wrist: Keep the phone near your face and pivot around your torso to approximate a more stable rotational axis.
If you have a tripod, use a panoramic head or a small quick-release rotator. Even an inexpensive rotator helps align the phone’s optical center during panning.
When to shoot: light and timing
I prefer golden hour or the soft light just after sunrise for Camel Haugh. The low light emphasizes cliffs and textures, and the gentle side-lighting gives great definition to rock faces. Avoid high noon unless you’re deliberately after stark contrast and deep shadows. If you’re shooting during tides with breaking waves, use a faster shutter (or let HDR handle highlights) to avoid motion blur in the sea while retaining sharp foreground detail.
Phone-specific recommended settings (quick reference)
| Phone | Mode | Recommended Settings |
|---|---|---|
| iPhone (12+) | Built-in Panorama / ProCamera | Portrait, AE/AF lock, HDR on, RAW (if using ProCamera), ~8–10 frames, 40% overlap |
| Google Pixel | Built-in Street / Panoramic | Portrait, Exposure lock, HDR+, avoid ultra-wide base lens for pano if possible, 7–9 frames |
| Samsung S-series | Panorama / Pro Mode | Portrait, Auto HDR, RAW (Pro), level guide, 8–12 frames depending on sweep |
Editing workflow I use
My usual workflow for phone panoramas at Camel Haugh:
- Import to Lightroom Mobile (or desktop) — keep original files and create a stitched TIFF or DNG if possible.
- If automatic phone stitch looks warped or has seams, open individual frames in Lightroom Classic and use “Photo Merge > Panorama”. I prefer the cylindrical projection for long cliff panoramas.
- Crop tightly to remove warped edges, correct lens distortion, and straighten the horizon. Use graduated filters to balance sky and foreground — often I’ll darken the top slightly to regain detail in clouds.
- Heal any ghosting from moving waves or people. PTGui or Photoshop’s content-aware tools help when Lightroom’s merge had trouble with motion.
- Final sharpen and noise reduction (especially if shot at higher ISO during dawn/dusk).
Practical on-the-day tips I always follow
- Check tide times — low tide opens up more foreground and unique textures at Camel Haugh.
- Scout a handheld route a few minutes before golden hour so you know where the stitch anchors are.
- Take a test shot and inspect the stitched preview on your phone before committing — it saves painful re-shoots.
- When in doubt, shoot more frames. You can always discard extras in post.
- Protect gear from spray and sand; a small microfibre cloth helps keep the lens clean between frames.
With these settings and stitch-point habits, you’ll get panoramic images that keep the raw drama of Camel Haugh intact — dramatic cliffs, sweeping beaches and a sense of scale that a single-frame can’t convey. And if a stitch doesn’t quite work out, that’s often a sign to reposition, tighten overlap, or move a step back from the nearest rock and try again.