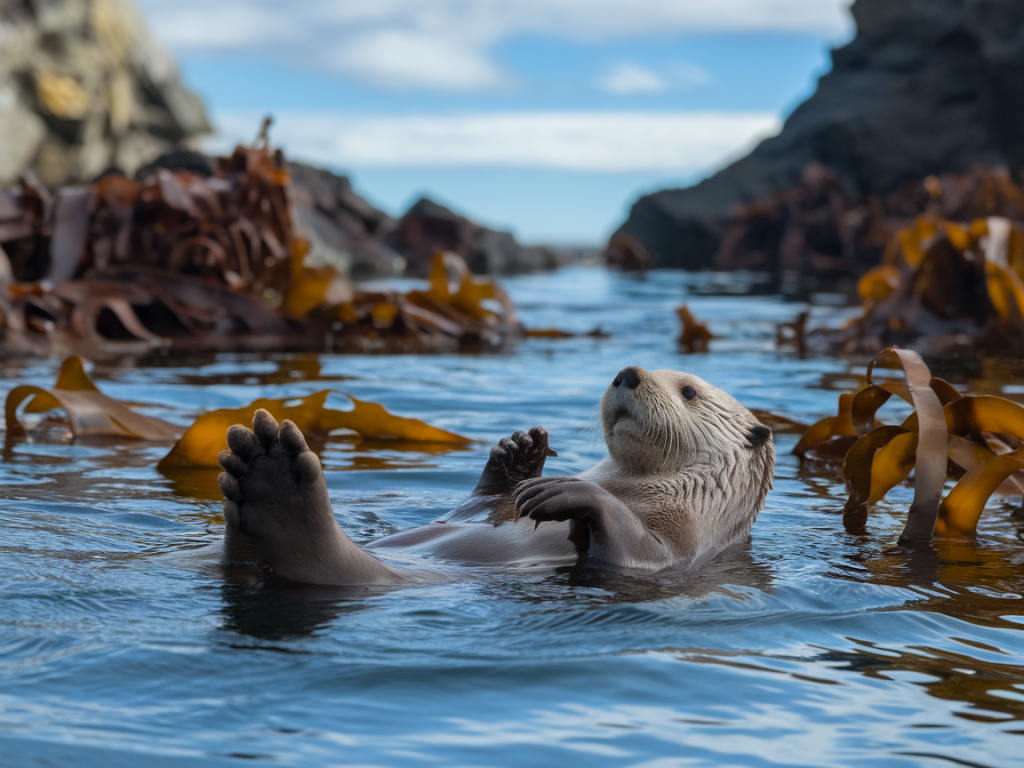
I’ve spent more than a few chilly dawns perched on clifftops in Sutherland watching otters work their way through rock pools and seaweed beds below. Photographing them from above—ideally from a discreet clifftop hide—lets you capture intimate behaviours and dramatic seascapes without disturbing these curious animals. Below I share what I’ve learned: the best vantage points, when to go, what glass to use, and how to set up a low-impact clifftop hide so you come away with great images and a clear conscience.
Why shoot from clifftop hides?
Shooting otters from above gives you several advantages: you can include the coastline for context, use the soft light of dawn to shape the scene, and stay out of the animal’s path so they behave naturally. From a safe, elevated position you’re also less likely to disturb them with your movements or scent, and you reduce the risk of slips on wet rocks.
Choosing vantage points
Not every clifftop works. I look for a few key features when scouting:
Clear line of sight down to rocky ledges, kelp beds or sheltered sandy bays where otters forage.Reasonable access that allows me to carry a hide and tripod without trekking across fragile vegetation or private land—stick to established paths or get permission from crofters when needed.Wind shelter—small headlands or depressions in the cliff can break the wind, stabilising your camera and keeping the hide more comfortable.Safe ledge space at least 3–5 metres from the cliff edge and preferably with a gradual slope below rather than sheer drops—safety first.Locally, I’ve found good hides near sea caves and inlets where otters transit between pools. Use binoculars first to confirm otter presence before committing to a setup.
Timing: when to be there
Otters are crepuscular—most active around dawn and dusk—so I plan for the hour before sunrise. The benefits are threefold:
Soft, low-angle light that sculpts the water and rock and gives catchlights in the otter’s eyes.Less human disturbance—fewer dog walkers and fishermen at that time.Cooler temperatures for me, but also calmer seas in summer mornings which helps with stability and reflections.Check tide tables. Otters hunt in intertidal zones, so low to mid tide often concentrates prey on the exposed rocks and pools. I aim to be in place 30–45 minutes before first light so I can finish hide assembly, pick camera settings, and let my scent settle.
Hide design and low-impact setup
A hide doesn’t need to be elaborate—my favoured option is a simple pop-up camo hide or a compact bivi with a low-profile seat. Key points:
Camouflage: choose natural tones—browns, greens—and avoid reflective materials that catch light.Low profile: keep the height under 1 metre to maintain sightlines and reduce visibility.Smell control: store food and scented items in sealed bags and wear unperfumed layers. Otters have a good sense of smell.Quiet entry/exit: approach quietly, set up while it’s still dark if possible, and use velcro rather than zippers for less noise.If you’re using a photographic hide with window flaps, open only the section you’ll shoot through. I also drape a thin blanket over my legs and tripod to stop angular movements catching an animal’s eye.
Lens choices and camera settings
Your lens choice depends on the distance between hide and otters but here are guidelines from my field experience:
300–600mm telephoto: the workhorse range. I often use a 300mm f/2.8 for low-light work or a 400–600mm prime for tighter frames. Canon 100–400mm and Nikon 200–500mm zooms are great versatile options for moving subjects.70–200mm: useful if you can get relatively close (under ~20m) and want environmental portraits with more of the cliff in the frame.Wide-angle (16–35mm): for dramatic context shots if the otter comes close to the water’s edge and you want foreground rocks or kelp included. Use with extreme caution—wide-angle close shots require the otter to be unconcerned with your presence.Camera settings I recommend for dawn otter photography:
Shutter speed: aim for at least 1/1000s for swimming or bounding moments, 1/500s for slower behaviours in calmer light.Aperture: f/4–f/8 depending on lens to balance subject isolation and depth of field across the uneven shoreline.ISO: modern cameras let you push ISO; don’t be afraid to use 800–3200 at dawn to keep shutter speeds up while retaining detail.Autofocus: continuous AF (AF-C) with a small cluster or single point placed on the otter’s eye; switch to back-button focus if that helps you track movement.Shoot RAW to rescue shadows and adjust white balance later—dawn light can be tricky.Compositions I look for
I try several approaches in one session:
Portraits: tight head-and-shoulders shots from 400–600mm, filling the frame with texture and expression.Behaviour sequences: continuous bursts when otters dive, groom, or carry prey—these tell a story.Environmental: wider shots that place the otter in a sweeping bay or on a sea-splashed rock—use a 70–200mm or wider lens for this.Reflection shots: calm water at dawn can give beautiful reflections—position slightly down the slope for a mirror effect.Ethics and minimising disturbance
Respecting otters and the coastline is non-negotiable. I follow a few simple rules every time:
Stay as far away as possible and never attempt to lure or bait an otter with food—this harms their natural foraging and increases conflict with people.Limit session length—animals can become stressed after prolonged human presence. If the otter shows vigilant behaviour (stopping, scanning, freezing) it’s time to pack up.Avoid repeated visits to the same den or haul-out during sensitive seasons—mating and pupping times are especially critical.Leave no trace: pick up any litter, and avoid trampling fragile cliffside plants or nesting birds.Quick gear checklist
| Camera | DSLR or mirrorless with good high-ISO performance |
| Lenses | 300–600mm telephoto; 70–200mm for context; 16–35mm for wide environmental shots |
| Support | Sturdy tripod with gimbal head or monopod for mobility |
| Hide | Pop-up or compact bivi, low-profile and camouflaged |
| Accessories | Beanbag, extra batteries, lens cloth, headlamp with red filter |
One final practical tip: keep a field notebook or voice recorder. I jot tidal state, weather, and behaviours so patterns become clear over time. If you’re visiting Durness and want a steer on specific clifftop spots that balance sightlines and low disturbance, drop me a line through Hillside Durness Co (https://www.hillside-durness.co.uk) and I’ll point you to places I know where otters and photographers can both be happy.