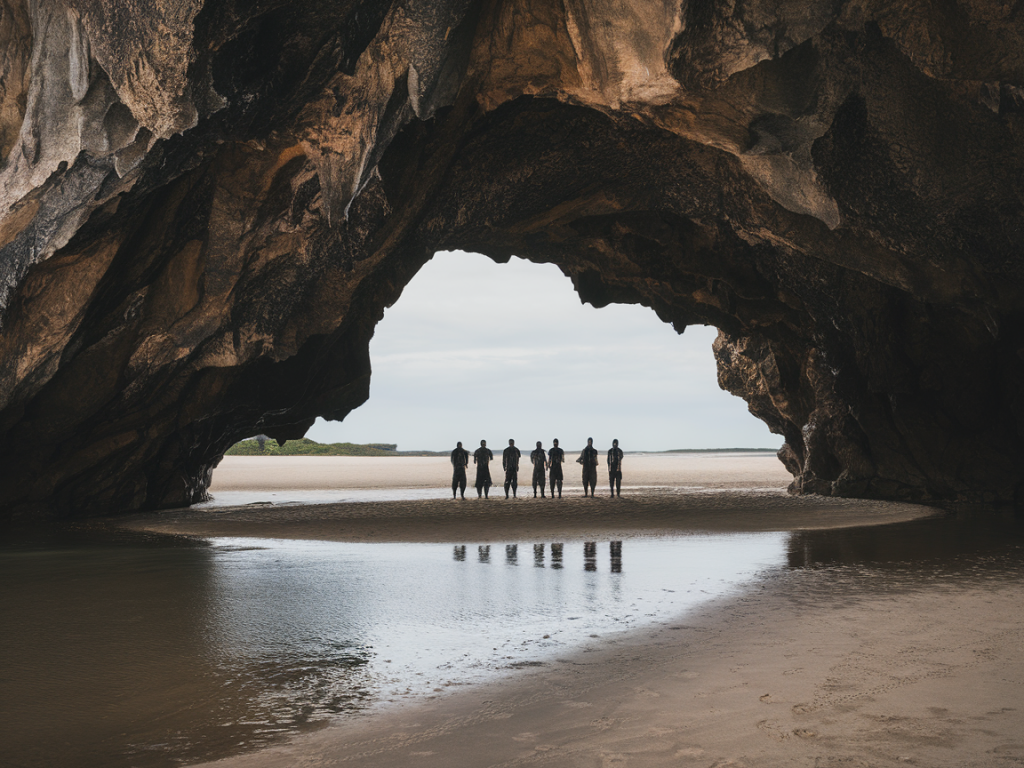
I learned to read the Sango Sands caves not from one guidebook but from a few soggy afternoons, a couple of late scrambles back along the cliff-top and the quiet confidence that comes from getting the tide wrong and living to tell the tale. If you want the simple version: time your crossing close to low water, give yourself a generous margin, and always have a high-ground fallback. But if you want to do it like a local—calm, prepared and able to turn a potentially stressful retreat into a scenic detour—read on. I’ll walk you through tide windows, what to watch for, fallback routes I personally use when the sea won’t play fair, and the kit I don’t leave home without.
Why timing matters (and what “crossing” really means)
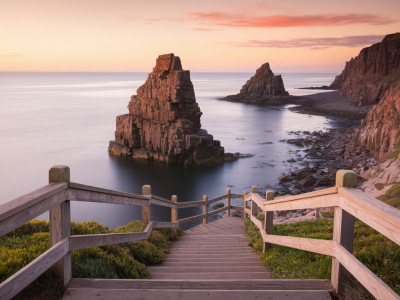
The small sea caves and rock platforms that connect parts of Sango Sands and the north Durness coastline are tidal features. At low tide they reveal sandy ramps and rock ledges that make a lovely, sheltered coastal route; at higher states of the tide the same bits you walked across become submerged or battered by waves. Getting into trouble usually comes from two things: underestimating swell and overestimating how much time you have. The caves are safe and beautiful at low tide, but that low window can be surprisingly short if there’s swell, wind pushing water in, or the tide is spring high.
How to pick your tide window
Locals don’t rely on a single number; we look at three things:
My rule of thumb for Sango Sands is to plan to be in the caves no earlier than 90 minutes before predicted low water and to be clear of tricky narrow sections at least 60 minutes before the next rising tide reaches the same level. In practical terms, that often gives a 2–3 hour window centred on low water as your comfortable crossing time. If the swell is over 0.8–1.0 metres or the wind is strongly onshore, add an extra hour either side—or don’t attempt the crossing.
Tools and sources I trust
My go-to sources on a trip day:
Reading the sea on arrival
Arrive early and use the approach to reassess conditions. Things to note:
If anything looks unexpected, retreat to a high point and reassess. There is never shame in changing plans; the cliffs here give spectacular views you won’t regret seeing from above.
Fallback routes I use (so you’re never stranded)
If the cave crossing becomes unsafe—or if you simply decide you want a less white-knuckle experience—here are the options I take, in order of how quickly they get you to safety or back to town:
What to pack for a tide-aware crossing
My kit list is short but purposeful. I pack for a wet, windy coastline where conditions can change fast:
Photography and route pacing
I often time a trip so I can be in the caves near low water for the soft light—either low morning or evening when shadows add texture to the rock. If you’re stopping to shoot, remember that lingering eats into your safety margin. Set a checkpoint: when the tide reaches a particular rock or outcrop, you move on. If you’re photographing with others, appoint one person to watch the tide and shout a 30-minute warning.
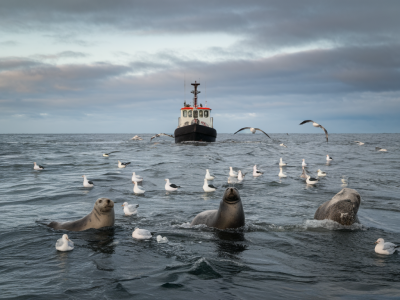
Wildlife and seasonal considerations
The area is wonderful for seabirds and seals. During bird nesting season (spring to early summer) avoid lingering on inaccessible ledges and adhere to any local restrictions. In the winter, tides are larger and storms more frequent; your comfortable tide window will be smaller and more conservative planning is essential.
| Scenario | Recommended action |
|---|---|
| Calm conditions, low swell | Use a 90-minute before to 60-minute after low water window; cliff detour optional |
| Moderate swell (0.5–1.0 m) | Extend safety margin to 2 hours each side of low water; prefer cliff detour if uncomfortable |
| Large swell (>1.0 m) or onshore wind | Avoid crossing; take cliff-top route or return to road |
Timing the Sango Sands caves crossing like a local blends good planning, respect for the sea, and a few practical fallbacks. The coastline rewards patience: take the safe option, and you’ll still get those dramatic cliffs, hidden coves and quiet moments that make Durness special.