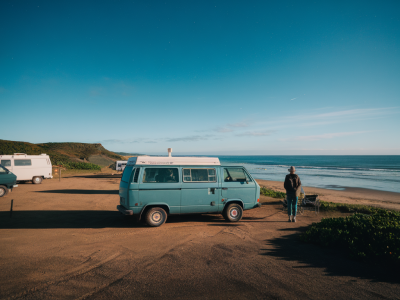
I set out from Sango Sands on a bright, blustery morning with a thermos of tea, my camera, and a simple goal: spot grey seals hauled out on rocks and flocks of common eider bobbing in the surf between Sango Sands and Camel Haugh. Over years of walking these shores I’ve refined a half-day route that balances wildlife chances, photography light, and safety—plus a couple of solid fallbacks if the weather or tide don’t play ball. Below I’ll walk you through how I plan it, what I carry, when to go, and how to adapt on the day so you come home with memories and minimal impact on the coast.
Why this stretch?
Sango Sands to Camel Haugh is compact but hugely productive. The shoreline blends sandy bays, rocky skerries and small headlands—ideal for grey seals that haul out at low tide and for common eider that feed in kelpy shallows. There’s also a good chance of spotting other seabirds, otters near the kelp beds, and curious arctic terns in breeding season. The route is flexible: you can make it a relaxed 3–4 km there-and-back, or extend to cover more coves if you have the time and energy.
Timing and tides
Timing is everything. For seals, aim to arrive around two hours either side of low tide—that’s when rocks and skerries are most exposed and haul-outs are visible. For eiders, early morning or late afternoon often brings calm seas and better light for photography.
Before you go, check the tide times and weather. I use:
Set out so you have 3–4 hours on the coast: that gives you transit time from Durness, a slow walk with stops, and time to return before conditions change.
Route overview and map references
Start at the Sango Sands Campsite car park (OS Grid Reference NC403640). Walk east along the main foreshore path, keeping below the dunes where possible. Pass Sango Bay and continue toward the small rocky point of Croft Point—this is often a good seal-watching spot. From Croft Point the shore drops briefly to a narrow inlet before rising to the sweep of Camel Haugh (grid ref NC416641).
Suggested map resources and files:
What to bring (gear checklist)
For a half-day wildlife-focused walk I pack light but deliberately:
How I move and where I stop
I walk slowly and stop often. Seals and eiders respond to quiet observation—no sudden movements or loud voices. My usual pattern:
Photographing without disturbing
Set up well back from haul-outs. Use longer lenses and a low profile. Avoid walking between seals and the sea. If a seal turns to face you, snorts or moves purposefully, you’re too close—retreat quietly.
Fallbacks if wildlife is scarce or weather turns
Weather and tides can scupper plans. My go-to fallbacks:
Safety and responsible wildlife watching
Respect access and follow Scottish Outdoor Access Code. Keep dogs on leads near wildlife and avoid nesting areas in spring and early summer. Tides here can be deceptive—don’t cut across rocky inlets if the alternative is a rising tide. I always check tide times and carry a map and compass (and know how to use them) in case clouds roll in and GPS signal drops.
| Distance | Approx. 3–5 km (there-and-back, extendable) |
| Time | Allow 3–4 hours with stops |
| Difficulty | Easy to moderate (uneven shoreline, some boulder scrambling) |
| Best months | Year-round for seals; April–September best for eiders and softer light |
Local contacts and updates
Rangers and local crofters are invaluable. If you spot something unusual—sick or entangled wildlife—note the exact location and contact the local wildlife rescue or SEPA. I stop in at Sango Sands campsite or the Durness visitor centre when I can to ask about recent sightings; locals will often tell you where seals were hauled out that morning.
If you’d like a GPX file for this half-day route or a short checklist card to print for the walk, tell me your preferred map format and I’ll prepare it for you. Enjoy the coast gently and keep your eyes low and your ears open—these places reward patience.