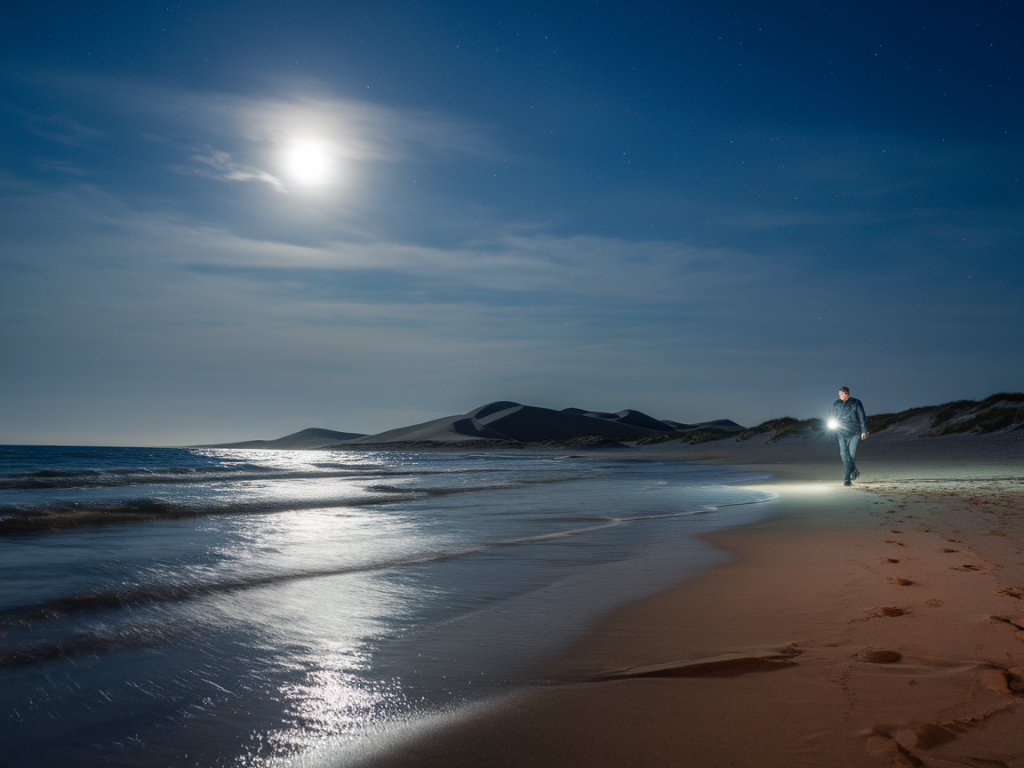
I love a moonlit walk along Balnakeil dunes — the air smells of seaweed and peat, the sand glows pearly under moonlight, and the cliffs stand like silent sentinels. But these walks are best planned carefully. I’ll take you through how I plan my own moonlit beach walk: tide margins, navigation strategies, headlamp settings that work in different conditions, and the practical kit I never leave home without.
Why plan for the moon?
Moonlight can make a coastal walk magical, but it also lulls you into a false sense of security. A bright moon helps with visibility, but shadows, uneven sand and wet rocks still hide hazards. On cloudy nights you’ll rely fully on a lamp and your navigation skills. I always treat a moonlit beach walk like a low-light hike — with the same planning, safety margins and respect for tides.
Pick the right night: moon phase and weather
For the most evocative light, aim for the nights around the full moon. That said, the days immediately either side of the full moon still give excellent illumination. If you prefer a darker, stargazing experience, choose a crescent or new moon night.
- Full moon range: night before, night of, and night after full moon for best illumination.
- Cloud cover: check the Met Office or yr.no forecast — heavy cloud can make even a full moon night pitch black.
- Wind: strong onshore wind throws sand and makes walking unpleasant; consider postponing if gusts are high.
Tide margins — the single most important safety factor
Balnakeil bay is shallow but tide timing is everything. I always plan with a conservative margin from high water and route my walk so I’m never forced to cross soft sand or tidal channels at rising tide.
As a rule of thumb, I allow at least 2 hours either side of high tide for beach sections; for stretches with narrow headlands or potential cutoffs I allow 3 hours. Use a tide table for Durness/Balnakeil (e.g., UK Hydrographic Office or mobile apps like XTide or Magic Seaweed) and plan around the predicted high water time.
| Situation | Recommended margin from high tide | Why |
|---|---|---|
| Open sandy beach (no narrow channels) | 2 hours | Allows comfortable walking and photo stops |
| Sections with rocky outcrops or narrow passages | 3 hours | Avoid getting cut off if tide rises quickly |
| After heavy rain or storm surge | 4+ hours or avoid | Tide behaviour and sand firmness become unpredictable |
Example: if high tide at Balnakeil is 21:00, I would avoid being on exposed sections between 19:00 and 23:00, and I plan my route so I can be on higher ground or back at access points well outside that window.
Navigation: routes, waypoints and using the coast as a reference
I rely on three navigation layers: coastline features, a paper map (OS Explorer OL 17), and a GPS device or smartphone with offline maps (e.g., ViewRanger / Outdooractive or Gaia). On a moonlit night the coastline is often visible as a dark silhouette against the sky, but don’t rely on that alone.
- Plan the route in daylight if possible. Walk the route once to note tricky sections, dune crossings and any channels.
- Set clear waypoints: car park at Balnakeil, the path to the headland, the outflow of the river (if visible), and the dunes’ main access points. Upload waypoints to your phone/GPS.
- Use GPS tracks: download the GPX of your route. I keep one copy on my phone and a second on a handheld GPS (Garmin eTrex/Etrex 32x or GPSMAP) for redundancy.
- Compass skills: bring a small compass and have a simple bearing to a known point (e.g., the lighthouse or a prominent headland) in case electronics fail.
Headlamp settings and lighting strategy
Lighting is both functional and considerate — I want to see the ground and preserve night vision when searching for wildlife or enjoying the moonlight. Here’s how I use my headlamp:
- Red light first: use red mode (lowest setting) to check maps and preserve night vision. Red is also less disturbing to wildlife.
- Low white beam (10–50 lumens): for reading the path close to your feet. This is useful on hard sand or compact shingle.
- Medium beam (100–300 lumens): for uneven terrain, rocky outcrops or when you need to scan ahead to spot obstacles.
- High beam / momentary boost (400–1000+ lumens): use sparingly to identify distant features or if you need to signal someone. Be mindful of other walkers and wildlife.
- Flood vs spot: choose a headlamp that lets you switch between flood (wide, close work) and spot (longer distance). Petzl Actik Core or Black Diamond Spot are good multi-mode options I’ve used.
I carry spare batteries and a USB power bank. For multi-hour walks I prefer a lamp with rechargeable battery and a secondary AAA headlamp as a backup.
Kit list I always bring
- Headlamp + spare (red & white modes) and spare batteries/power bank
- Waterproof jacket and windproof layers — it gets cold on the sand after sunset
- Warm hat and gloves
- Sturdy boots or trail shoes (sand can hide sharp objects)
- Map (OS map) and compass
- Phone with offline map and downloaded GPX track
- Whistle, small first-aid kit, and a mylar emergency blanket
- Binoculars and camera with a tripod (if you plan on moonlit photography)
- High-visibility jacket or head torch red flash if you expect dog-walkers or cyclists
Timing, walking pace and safety margins
I calculate walking time conservatively: on open sand I allow 4–5 km/h in good conditions; on uneven dunes or when navigating dark rock sections I drop to 2–3 km/h. Multiply your walking time by 1.25–1.5 for stops and navigation checks.
Tell someone your plan: where you’re parking, intended route, expected start and finish time and your phone number. If walking solo, I set a check-in time with a friend and enable location sharing for the duration.
Wildlife and considerate behaviour
Balnakeil is home to nesting birds and sensitive dune vegetation. At night you might disturb foraging waders, seals hauling out on beaches, or hooded crows. I keep dogs on lead during the breeding season, stick to existing paths across dunes, and avoid bright beams in bird colonies. Leave no trace: take your litter and avoid collecting shells that local rules might protect.
Moonlit photography tips
If you want to photograph under moonlight, bring a sturdy tripod, a fast wide-angle lens (e.g., 24mm f/2.8 or faster), and a cable release or remote. Use ISO 800–3200 depending on your camera, with exposures from several seconds to 30s. Combine moonlight with headlamp light-painting for interesting foregrounds — just keep the light low and brief to preserve the scene’s mood.
When I plan a moonlit walk to Balnakeil dunes I balance curiosity and caution. The bay is generous and forgiving, but nature is indifferent to plans. Check tides, pack layers and spare light, and set conservative margins so you can enjoy the hush and the glow without rushing. If you’d like, I can share a GPX of the route I use or suggest a recommended night in the coming weeks based on moon and tide — just ask.